Picture this: you’re late for work, your iPhone’s battery is gasping for life, and suddenly you realize there’s a mysterious invader lodged in the charging port. It’s like a tiny villain determined to ruin your day! Whether it’s a rogue lint ball, a crumb from last week’s snack, or some other bizarre object, getting it out is crucial for your phone’s survival.
Understanding the Problem
Removing an obstruction from an iPhone’s charging port can feel crucial for maintaining device functionality. Identifying the problem accurately aids in finding effective solutions.
Common Causes of Blockage
Blockages in charging ports often stem from everyday items. Lint from pockets represents a frequent culprit, especially during transport. Crumbs from snacks present another issue, especially if the phone has been in close proximity to food. Dust accumulates in various environments and can create significant barriers. Additionally, small objects, such as hair or tiny screws, may unexpectedly find their way into the port. Each of these elements can interfere with proper charging and functionality.
Signs of a Stuck Object
Recognizing symptoms of a stuck object helps address the issue quickly. Difficulty charging the device often signifies an obstruction. Users might notice a slower charging rate or inconsistent connectivity. Another indicator includes unusual sounds when connecting the charger, signaling interference. Visually inspecting the port can reveal visible debris or blockages. A feeling of resistance when inserting a cable strongly suggests something is amiss within the port. Identifying these signs promptly minimizes potential damage to the device.
Tools You May Need
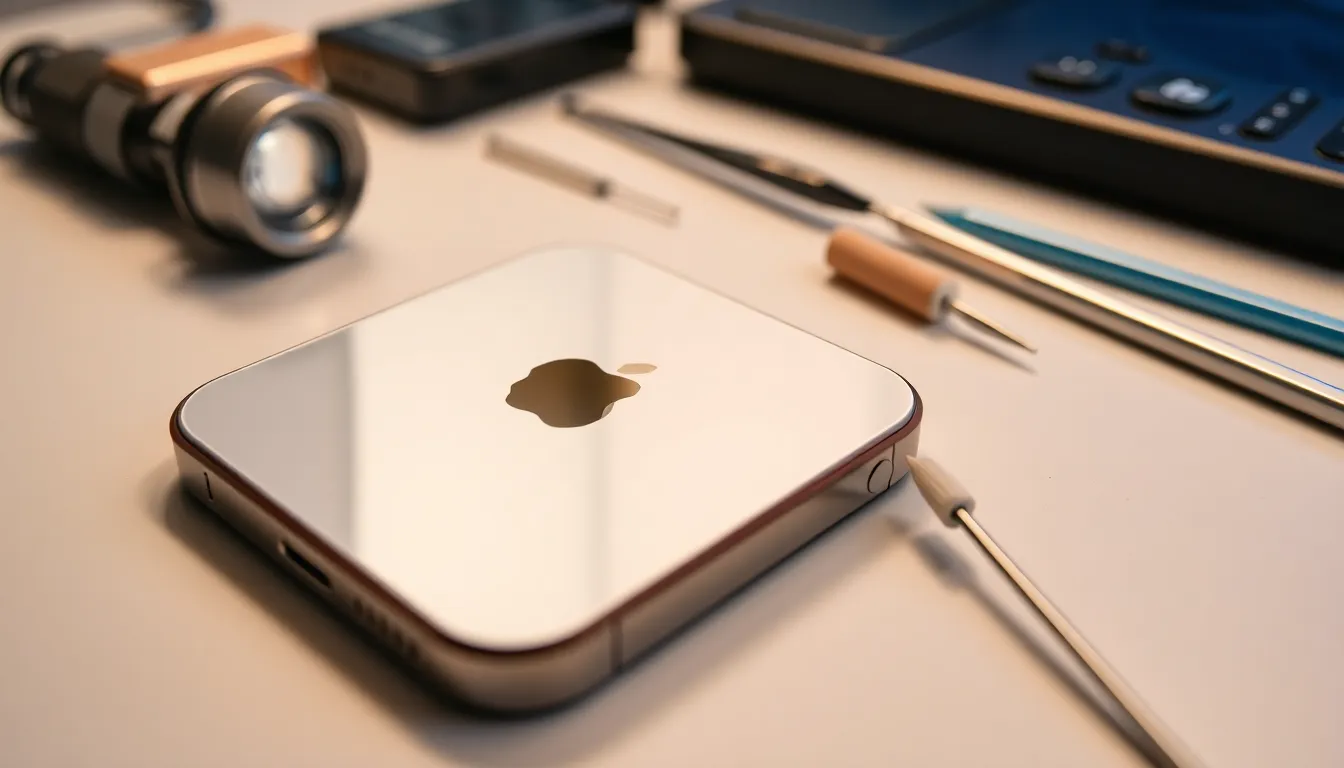
Removing an obstruction from an iPhone’s charging port requires specific tools for effective resolution. Preparing these tools ensures a smooth process.
Recommended Tools
A flashlight can help locate any hidden debris within the charging port. Compressed air clears out dust and loose particles easily. A toothpick or wooden dowel allows for gentle maneuvering without damaging components. Tweezers are useful for grasping larger, more stubborn objects. A soft brush effectively removes lint and dirt without scratching the interior.
Safety Precautions
Prioritizing safety during removal is essential. Powering off the iPhone prevents accidental damage while working on the port. Avoiding metallic tools minimizes the risk of short circuits. Wearing a static-free wristband can protect the device from electrostatic discharge. Keeping the workspace clean reduces the chances of losing tiny components during the process.
Step-by-Step Guide
Removing an obstruction from an iPhone’s charging port involves a few careful steps to ensure safety and effectiveness.
Visual Inspection
Start by examining the charging port closely. Use a flashlight to illuminate any debris inside. Identifying the type of obstruction can guide the removal process. Look for lint, crumbs, or any visible foreign objects. Gathering this information can help determine the best approach to clearing the port. Inspect from different angles, as some objects may not be immediately visible. A thorough visual inspection prevents unnecessary damage during removal.
Manual Removal Techniques
Employ some simple manual techniques for obstruction removal. Using a toothpick or wooden dowel works effectively to dislodge debris. Gently insert the tool into the port to avoid damage. Remove any identifiable lint or crumbs without forcing them further inside. Tweezers may also assist in gripping small objects. Be careful not to scratch the inner components. Prioritizing patience during this step ensures a higher chance of success.
Utilizing Tools for Removal
Utilize specialized tools for removing tougher obstructions. Compressed air can blast away dust and loose debris. Aim the nozzle carefully to avoid forcing debris deeper into the port. A soft brush can be useful for sweeping away stuck particles. Always keep the brush clean to avoid introducing new contaminants. Using the right tools streamlines the removal process and enhances safety.
When to Seek Professional Help
Recognizing when to seek professional help can save time and prevent further issues. Some signs suggest DIY attempts could lead to damage.
Signs You Should Not Attempt DIY
Visible damage, such as bent pins or cracks in the charging port, indicates DIY removal could worsen the problem. Furthermore, repeated failed attempts to charge the iPhone can signal deeper issues. If unusual sounds occur when inserting a charger, stop immediately. An unexpected increase in device heat while charging also raises red flags. Seeking professional assistance avoids additional damage and ensures proper resolution.
How to Find a Professional Technician
Start by asking friends or family for technician recommendations. Searching online for local repair shops often provides multiple reputable options. Look for reviews and ratings on platforms like Google or Yelp to gauge customer experiences. Many authorized repair centers offer certified service, ensuring technicians know the device well. Contacting the Apple Support website or app can also help locate certified service providers nearby. Making an informed choice can lead to more efficient repairs and restored device functionality.
Removing an obstruction from an iPhone’s charging port can seem daunting but it’s often a straightforward process. By following the right steps and using the appropriate tools, anyone can restore their device’s functionality. If the obstruction proves stubborn or if there are signs of potential damage, seeking professional help is always a wise choice. Taking proactive measures can prevent further issues and keep the device running smoothly. With a little patience and care, users can tackle this tiny villain and ensure their iPhone stays charged and ready for action.